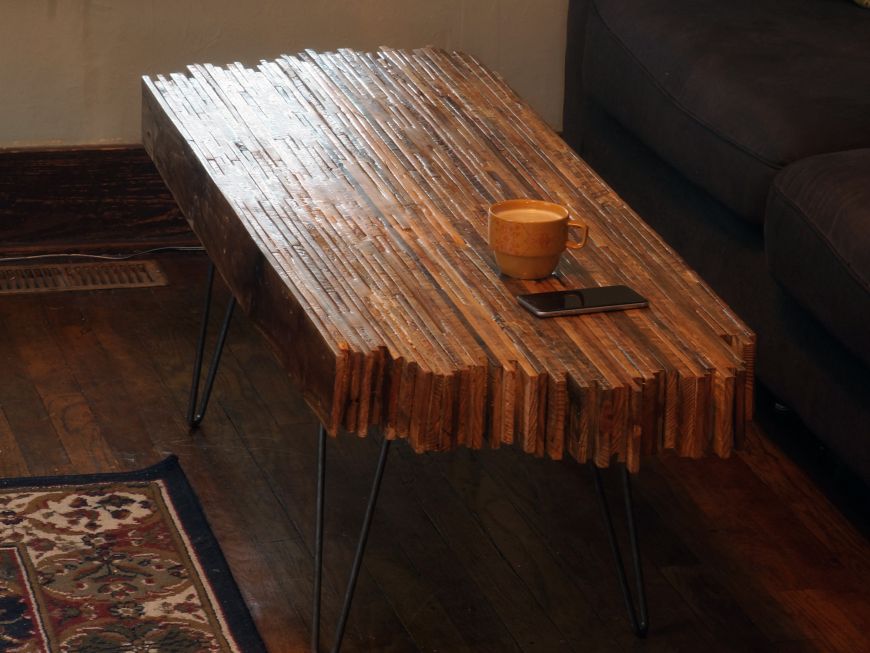
Here's how I made my own coffee table out of old, free pallet wood.
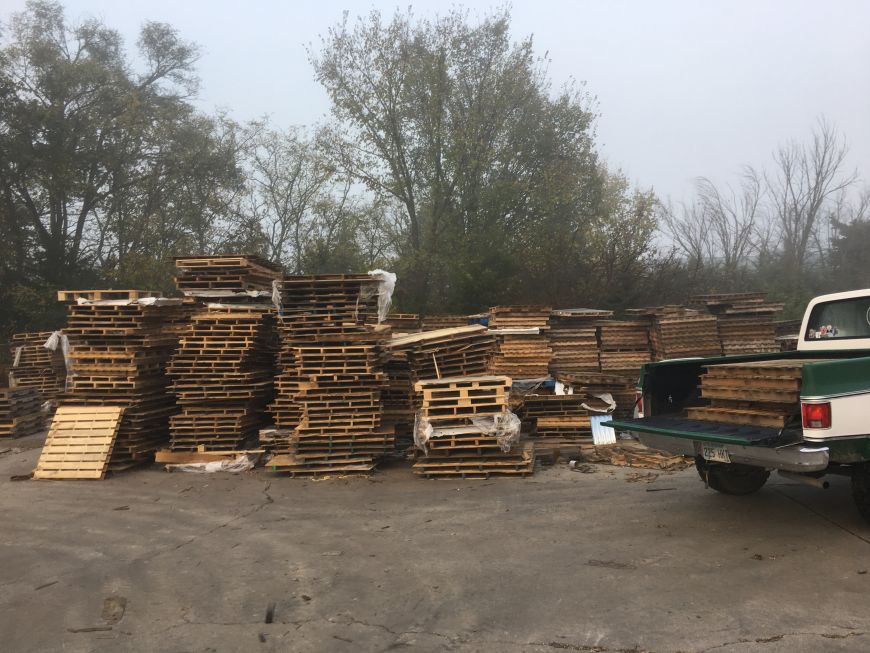
First off, find yourself some pallet wood. Generally, a hardwood like red oak is preferred, however I found soft wood pallets but they where in good condition. I found that the soft wood was lighter too and hard wood may have been too heavy for what how I made the coffee table.
To dissassemble the pallets and break them down into boards I could us, I had to do something aout the nails. These nails are spiral shaped and glued, so trying to pull them out would have resulted in many, many broken boards and lots of hard work.
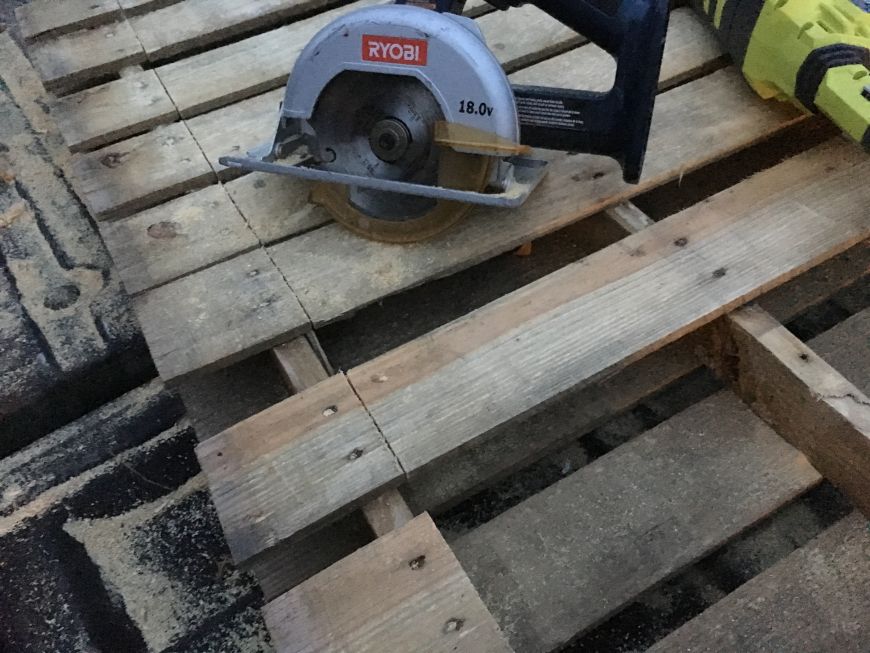
I found an easier way. First, I cut the ends off with a circular saw as shown bellow.
Next, I used a recipricating saw to cut through the nail for all the nails in the middle. This left the nail head in the wood but it didn't matter to me. I also needed to use a demolision blade that can cut through both metal and wood. The diablo blade I used cut through all 7 pallets and is still sharp!
Next, I gathered up all the wood and started sorting them. I needed board with at least one good edge, which would be the top of the table. If any boards didn't have one good edge, then I through it out. Next, I trimmed the ends with a chop saw to square them up, and I also cut them into random sizes so there would be a good random staggered pattern in the table top. I also used a belt sander to remove any high spots and to clean up the top edge.
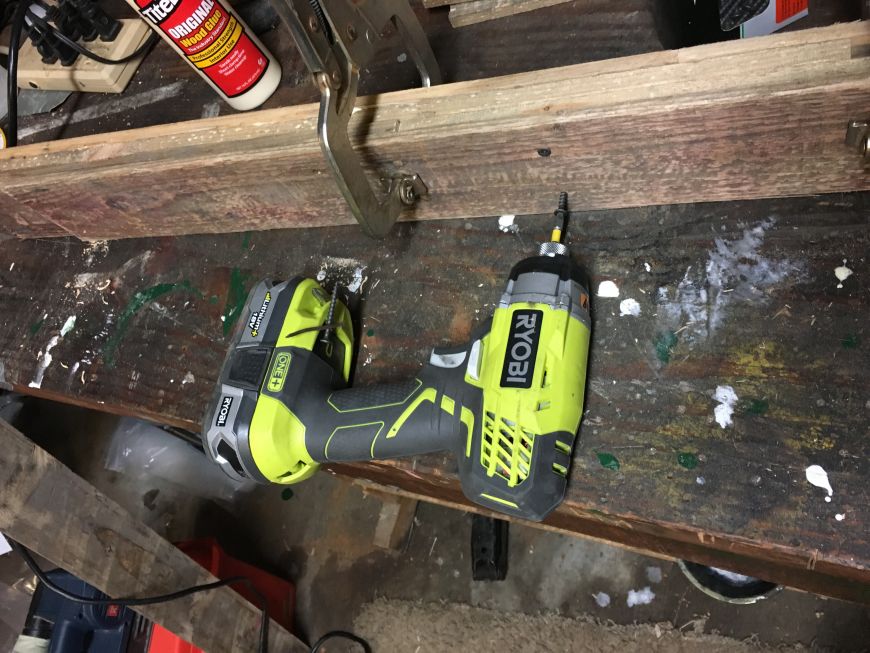
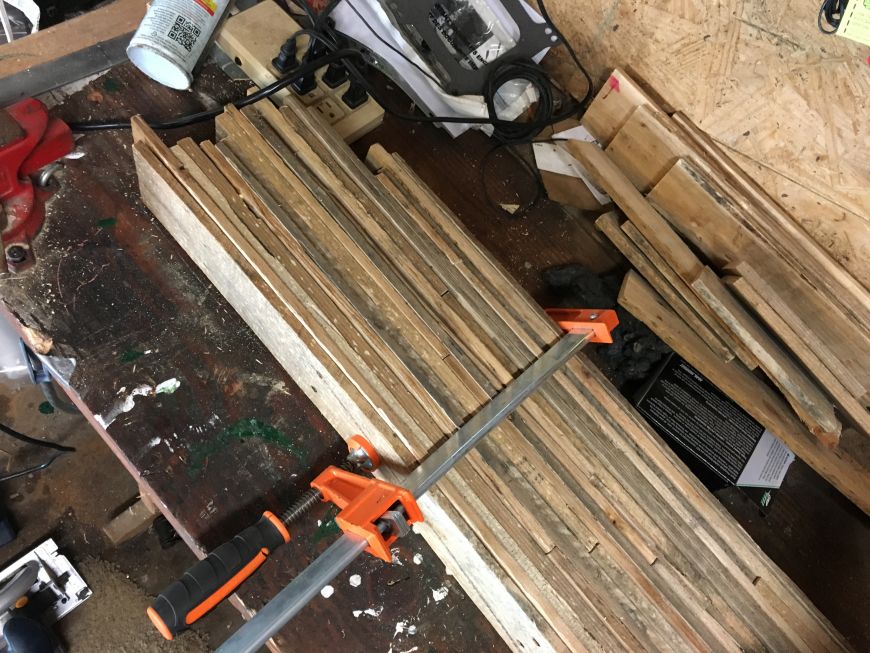
Now I began assemling them. I simply took several boards that made up four rows, added some glue, clamped them together, and then screwed them together with drywall screws that where just barrelly long enough. I kept the top edge faceing down on the flat work table to keep the coffee table top flat as well.
Now I just repeated the step above, using long enough screws to screw the new boards into the growing block of wood. I had to pay attention to the thickness of the boards (they're not all the same, and if I had two or three boards to make one row then they all had to be the same thickness), the gaps, and that all the top edges (facing down) where laying flat on the work bench. After a while I stopped bothering with wood glue.
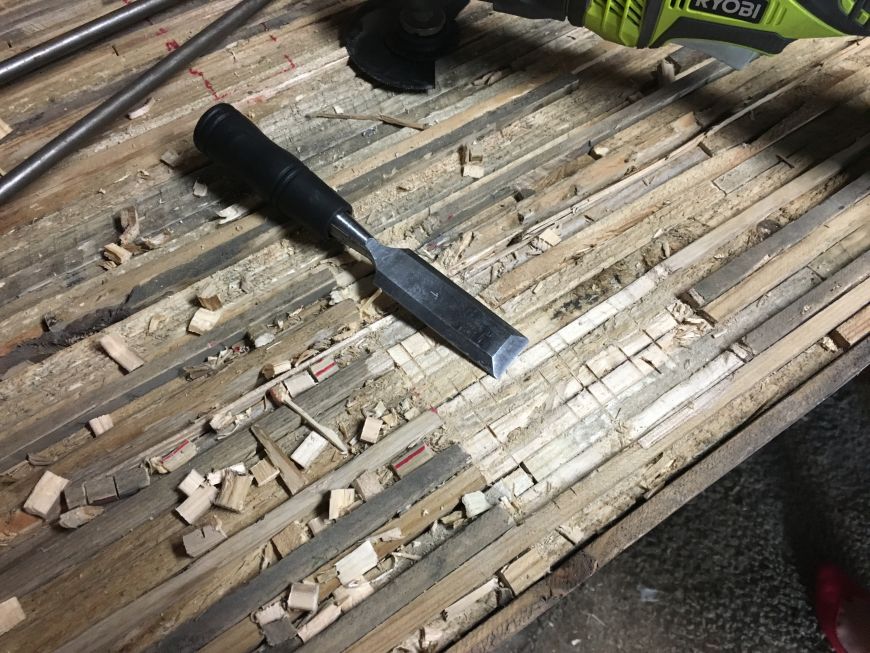
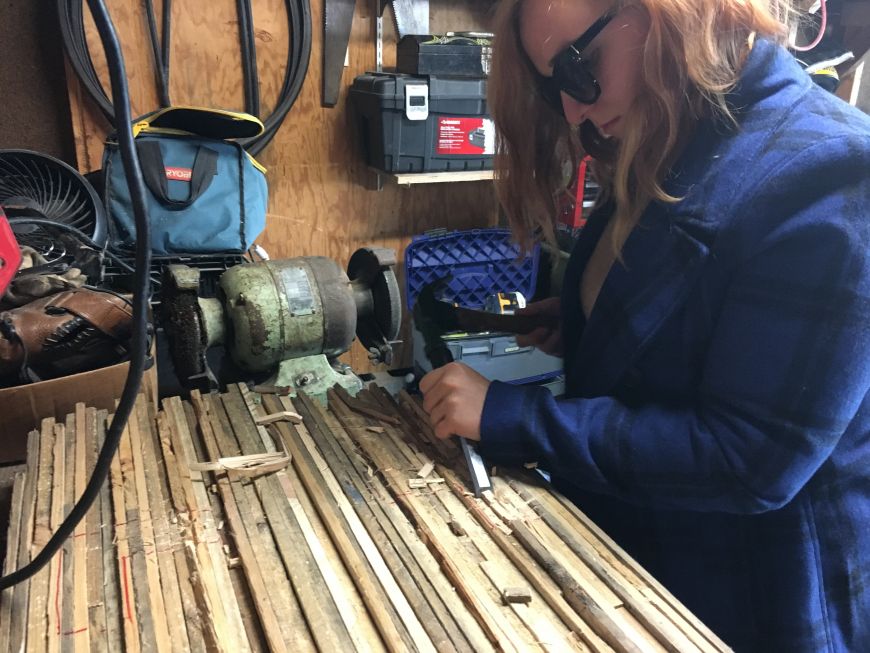
Once the whole block was screwed together, I had to carve out a flat spot on the bottom (facing up at this point) for the legs. I used a flush cutting multi-tool (Ryobi Job-Plus) to cut releave cuts, and a sharp chissel to remove the material.
I made my girlfriend work the chissel while I used the power tool :)
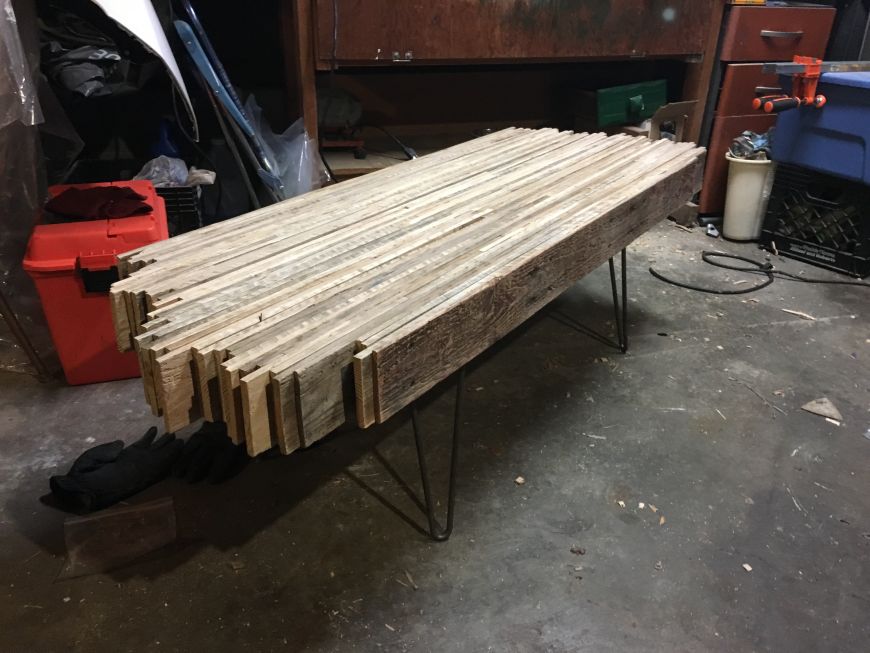
Screwed on the lets (from www.hairpinlegs.com), flipped it over, and viala! At this point I could have used my belt sander, or a hand planner, to get a perfectly smooth top, but there were so many imperfections in the wood that it wouldn't have ever been perfectly smooth and flat.
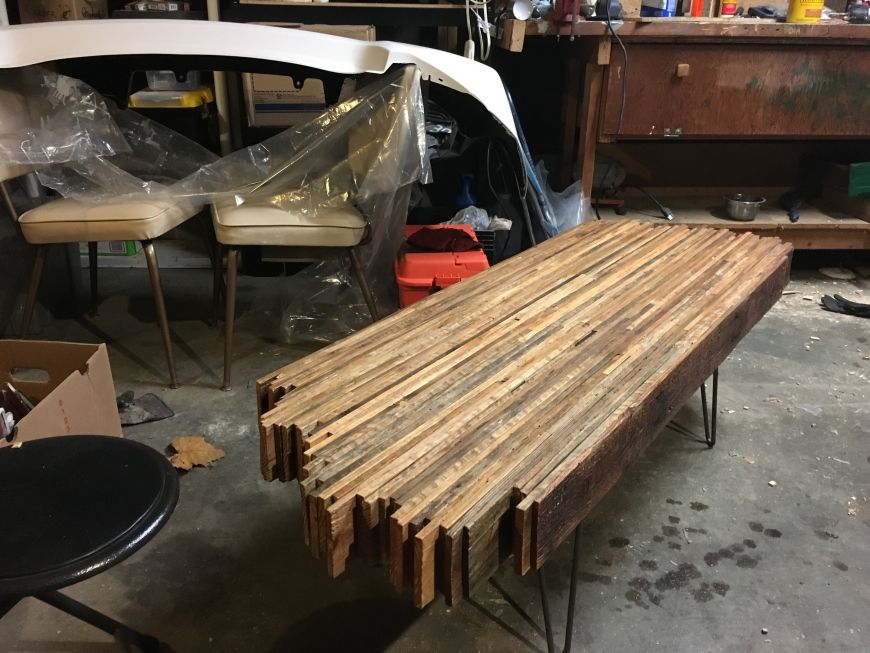
One coat of Minwax stain+sealer was applied to give it a little richer color.
Finally, I poured on a epoxy bar top finish. It oozed through many of the larger cracks in the surface and didn't give it a perfectly continous surface, so it has a "dive bar table top" appearance to it if you ask me. I also had problems with tiny bubles forming in the epoxy after I poured it on and those bubbles became rough imperfections. I also thought it was way too glossy. So to fix both of those problems, I first sanded (both with a sanding block and by hand to get into grooves) with 320 grit sand paper, then buffed it with #0 steel whool, then I applied a coat or wax (car was, actually). It really helped I think.
The end result looks great and I'm really happy with it!

